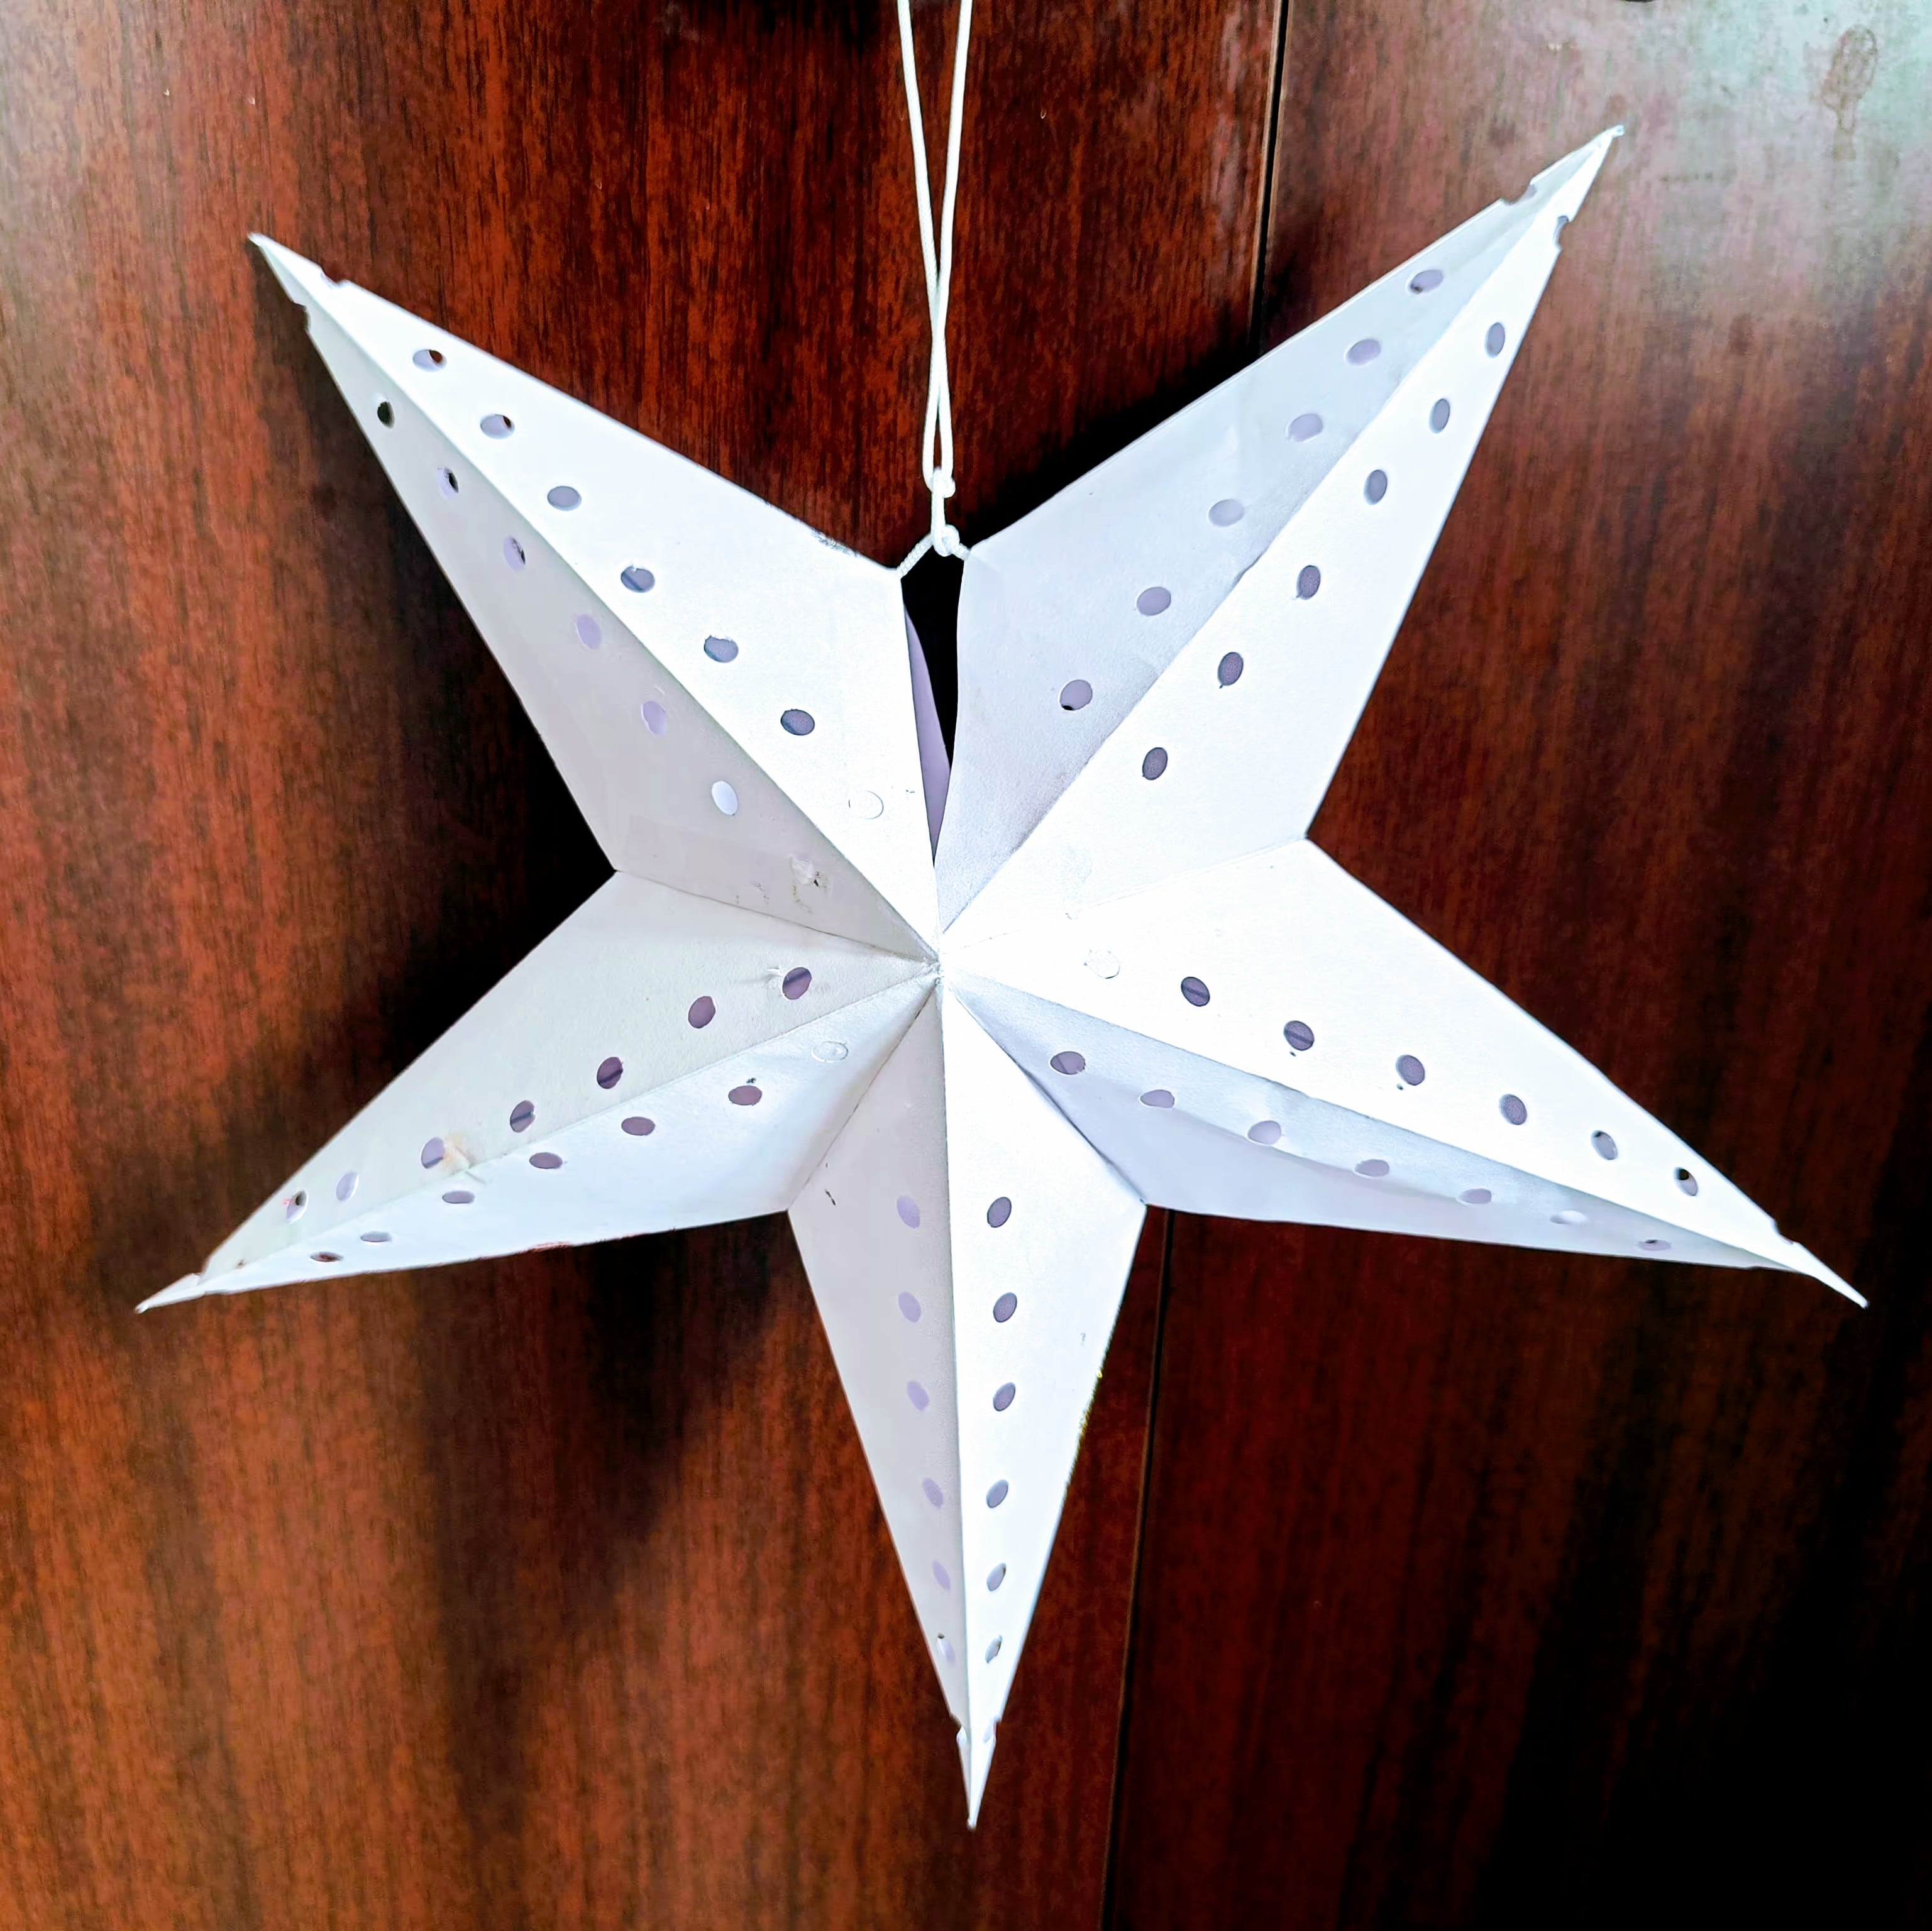
How to Create a DIY Paper Star
Crafting your own paper star is a fun and rewarding project that’s perfect for decorating your home, celebrating the holidays, or simply adding a handmade touch to any event.
With just a few materials and some simple folding techniques, you can create a stunning star that radiates charm and creativity.

Materials you’ll need: To make your paper star, gather the following supplies:
- White or colored paper: Choose plain white paper for a minimalist look, or vibrant colors and patterns to match your theme.
- Scissors: For cutting out the star’s shape.
- Glue stick: To assemble the parts securely.
- Ruler: For precise measurements and folds.
- Pencil: To outline the design on your paper.
- String or thread (optional): For hanging your star.
Steps:
-
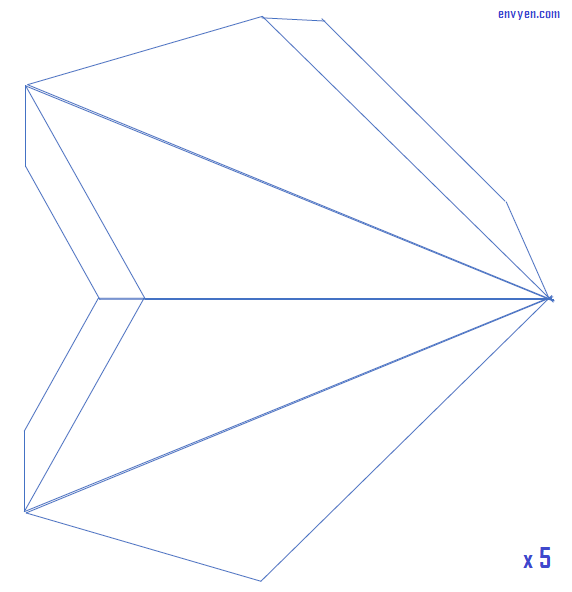
Draw the Star Outline
Start by drawing the outline of a single star point on your paper. Here’s how:
- Sketch a triangular cone shape with flaps on both sides for gluing (refer to the printable PDF for a template).
- The design should include folding lines to shape the cone.

For convenience, you can download and print a ready-made template on two A4 sheets for accurate and consistent outlines [Download pdf]
-
Create Five Star Points
Each star has five points, so repeat the outline process five times. Use your template or ruler to ensure all outlines are identical for a symmetrical star.
-
Add Decorative Details
Before cutting, punch small holes into the outlined shapes for decoration. These holes will let light shine through if you place a light inside the star, adding a magical touch to your creation. Use a hole punch or the tip of scissors to carefully create patterns.
-
Cut Along the Outer Edges
Carefully cut out each outline, following the outermost lines. Be precise to ensure clean edges and a polished final look.
-
Fold the Inner Lines
Use your ruler to guide sharp, crisp folds along all the inner lines marked on the outline. Proper folding is essential to give your star points their three-dimensional shape.
-
Assemble Each Cone
Apply glue to the outer flaps of each cutout. Fold the shape into a cone, pressing the flaps firmly to hold the edges together. Repeat this process for all five star points.
-
Glue the Cones Together
Once all five cones are ready, assemble the star:
- Apply glue along the edges of each cone and attach them one by one.
- As you work, ensure that the points are evenly spaced and align properly to create a symmetrical star.
-
Leave One Edge Open
Before completing the star, leave a small opening at one edge. This will allow you to insert a light for illumination or tie a string or thread if you plan to hang the star.
-
Display Your Star
Your paper star is now ready to shine! Hang it on your wall, suspend it in a window, or place it on a table as a centerpiece. If you’ve added decorative holes, consider inserting a small LED light inside to create a warm, glowing effect.
-
Tips for Customization
- Experiment with sizes: Try smaller or larger templates for different applications.
- Use metallic or textured paper: Elevate the design with shiny or embossed paper.
- Paint or embellish: Add glitter, sequins, or hand-drawn patterns for a unique touch.
This simple DIY project is not only fun but also a wonderful way to add a personal, festive touch to your holiday decorations. Gather your materials, follow the steps, and let your creativity shine. Have fun crafting, and may your holiday season be as bright as your handmade paper star!
🎄 Merry Christmas !! 🎄